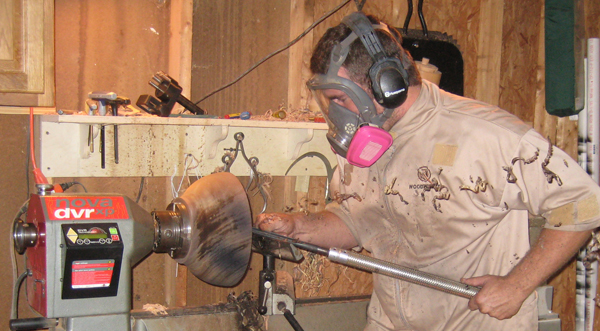
 Whether I am making a salad bowl or large hollow vessel, there is a lot involved beyond the actual turning. This page describes, in general, how make a wooden bowl and hollow vessel from a standing tree. All pieces are made with a chainsaw and a wood lathe with a few hand tools.
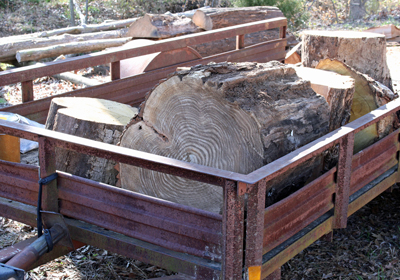 I source and cut nearly all the wood that I use. Wood for turning is very easy find if you know where to look. Especially in North Carolina there is such abundance and diversity of trees. I work with over thirty species of trees, primarily hardwoods. Most of which have already fallen or been taken down due to damage, disease, storms, etc. Once a tree is felled, the trunk is cut into sections (bucking), just as if it were to be used for firewood. Learn more how to source wood for yourself and how to make wood turning blanks from a log.
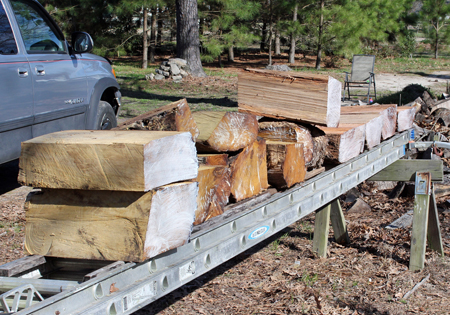
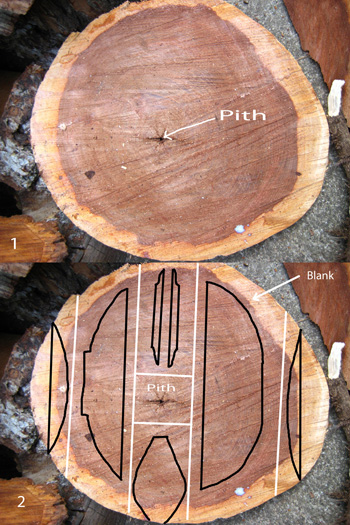 At this point a bucked section is cut down into multiple blanks. The main thing to note is the pith of the log (Figure 1). The pith is the most unstable part of the log and is where cracks start, so it has to be cut out. This is a typical way the log is sectioned into blanks. Here is a cut plan and some items that would be made from those blanks (figure 2).
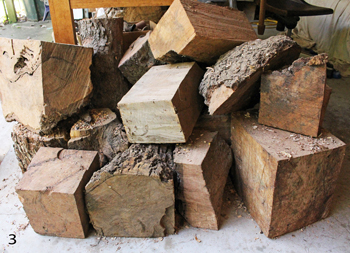 When sawing blanks for hollows and urns I cut them at any size and I am a lot less stringent about eliminating defects (Figure 3). For decorative pieces, there is more flexibility to incorporate these types of characteristics. Decorative blanks that contain lots of worm holes or cracking get used for sculptural work. Those issues require a lot of labor to remedy for urn blanks and usually are not worth the time to do so.
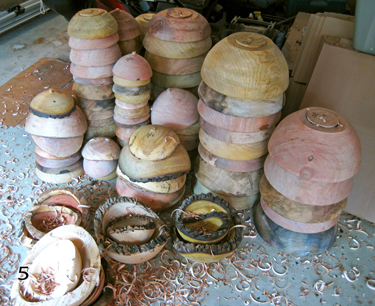
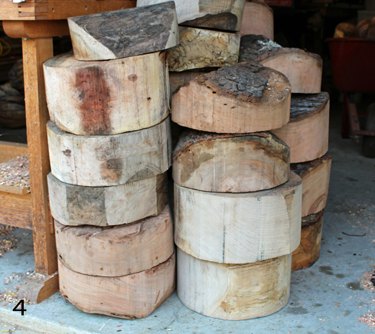 Unless the tree has been felled for a long time (years) the wood is still “green”. This means its moisture content is still high and the wood is prone to movement as it dries. The bowl blank rounds are turned into a rough bowl shape, with the thickness being approximately 1/10 the diameter of the rim dimension. I core my bowl blanks yielding two or thee rough bowls per blank.
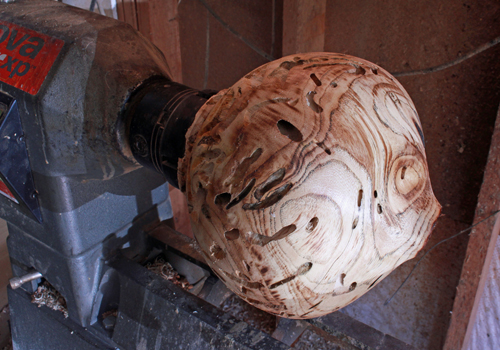 A vessel blank is mounted between centers on the wood lathe. This allows the tenon to be turned which will in turn allow the vessel to be mounted in a chuck. Once mounted in the chuck, the outside shape is formed first and sanded. The opening is established and a column is bored out to establish the inside bottom of the vessel. The inside material is then hollowed out so that the walls are around 1/8” to 3/16” thick. Once all the inside material is removed the hollow vessel is jam chucked so that the outside bottom of the vessel is turned and sanded.